How to take ownership of a folder in windows 8.1
Sometimes we need to manually replace, delete or rename a system file or folder. Its very common to receive folder access denied – file access denied “You need permission to perform this action” this could be for a file or folder that your trying to replace, delete or rename.
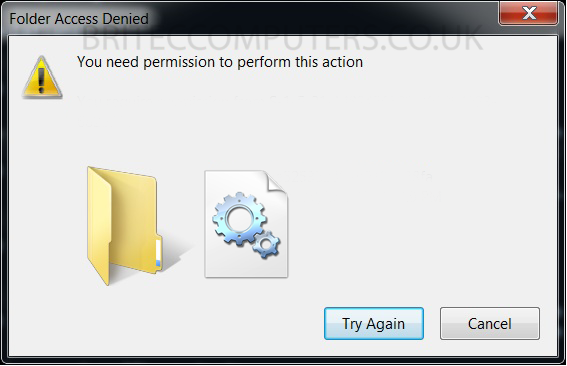
The reason for this is because your trying to access a file or folder that you do not have the rights to. To gain access to these files or folders you must take ownership of that file or folder that your trying to access. So I will show you how to take ownership of a file or folder by granting access permission to the objects by changing security permissions for them files or folders.
We are using Windows 8.1 make sure logged on as an administrator so we can easily change security permissions for any file or a folder on that computer. Its possible that your already logged on as administrator if this is your personal computer. If this is on a company network, you will need to be a system administrator to take take ownership, grant permission or to change security permissions.
To take ownership of any folder:
1. Locate the folder you wish to take ownership of. Now click on the Share tab > then click on the Advanced Security button.
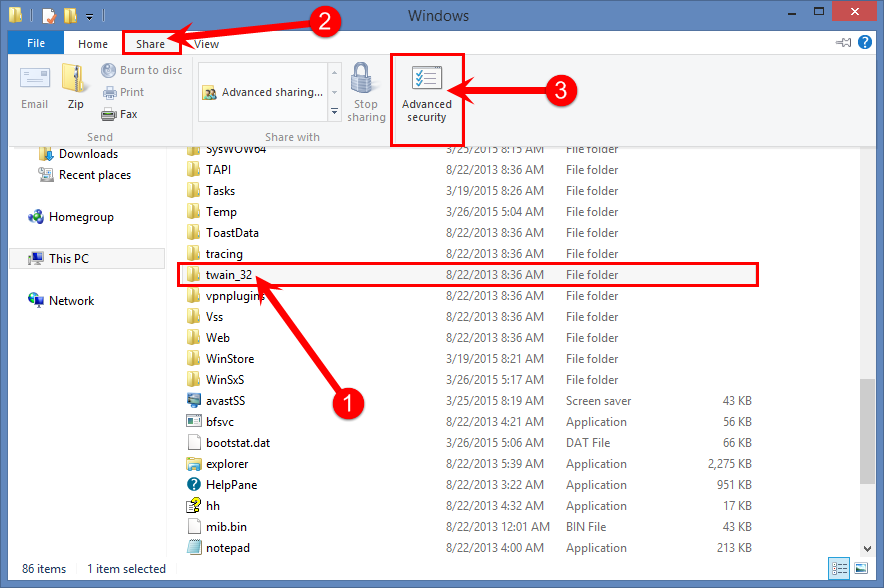
select-folder-hit-share-click-advanced-security
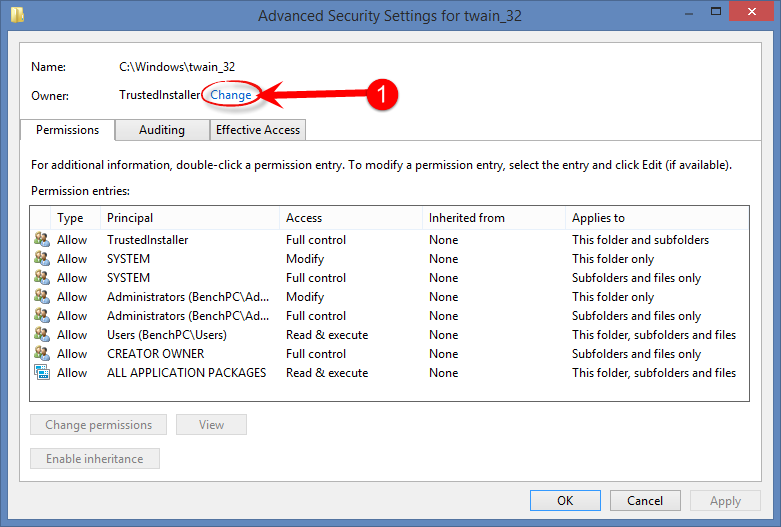
2. Advanced Security Settings windows will open. Click on Change link. (example below)
3. Once Select User or Group dialog box opens. Click on the Advanced button.
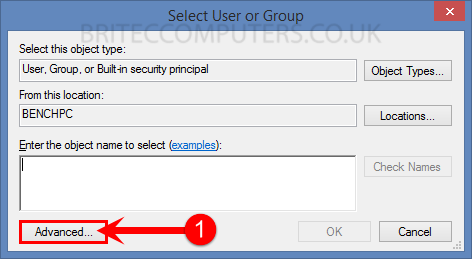
click-advanced
4. Next Advanced User or Group box will open. Click Find Now button.
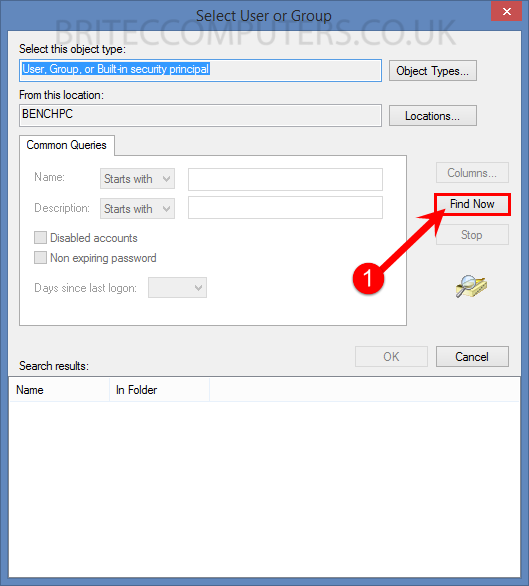
click-find-now-in-user-or-group
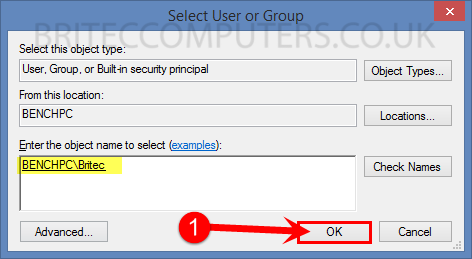
5. Select which user you want to use. Then click OK button.

select-user-click-ok
6. You should now see account you selected. Now click OK button.
7. In Advance Security Settings, you can see Name and Owner of the file. Just click on the OK button
- To change ownership of all sub folders and files in that folder, put a check-mark in “Replace owner on subcontainers and objects“. Now just click Apply button.

replace-owner-on-subcontainers-and-objects
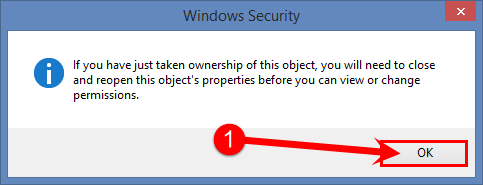
8. Windows Security dialog box will popup. Click OK

That’s it, you have just took ownership of that folder and all contents inside it.